Last updated on February 1st, 2024 at 09:52 pm
The first time I took a look at a compressor I got overwhelmed…
So many knobs and controls that I didn’t know what they all were for.
The one that confused me the most was the “knee” control, since all the others seemed a bit more obvious.
In this post I will go into what the “knee” control does on a compressor.
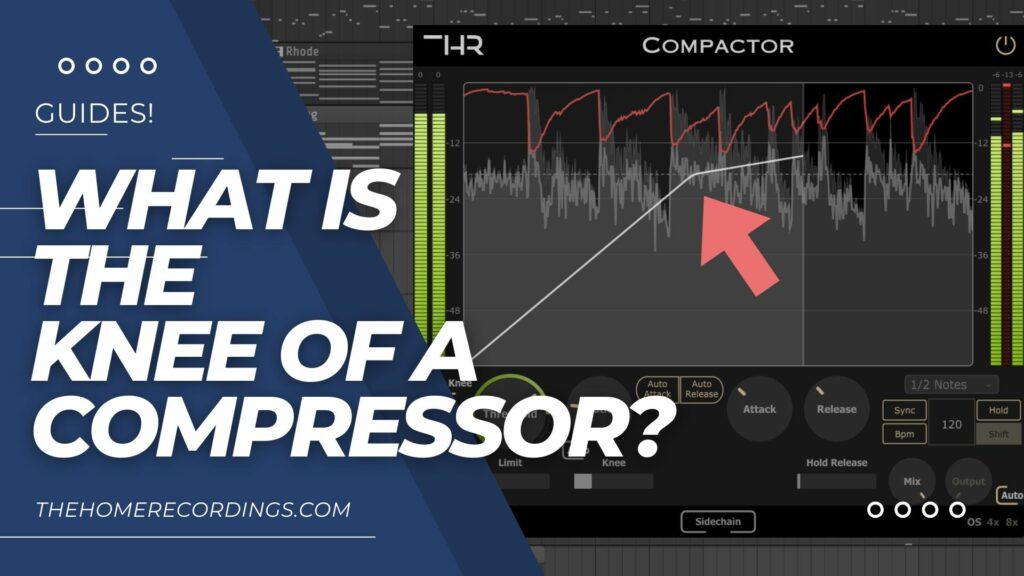
What is the knee on the Compressor
The Knee refers to how the compressor transitions between the non-compressed and compressed states of an audio signal running through it once it surpasses the threshold. The harder the knee, the quicker the compression will occur.
If you want a slower transition, where the compression slowly kicks in, or if you want to compress the signal slightly when it crosses the threshold but compress it progressively more as the signal gets louder, then this is where the knee comes in.
To better understand this, let me explain what each component of a compressor does, especially the ones related to the knee.
Are you looking for FREE compression VST plugins? Here’s a list of the best ones I could find.
What is the threshold?
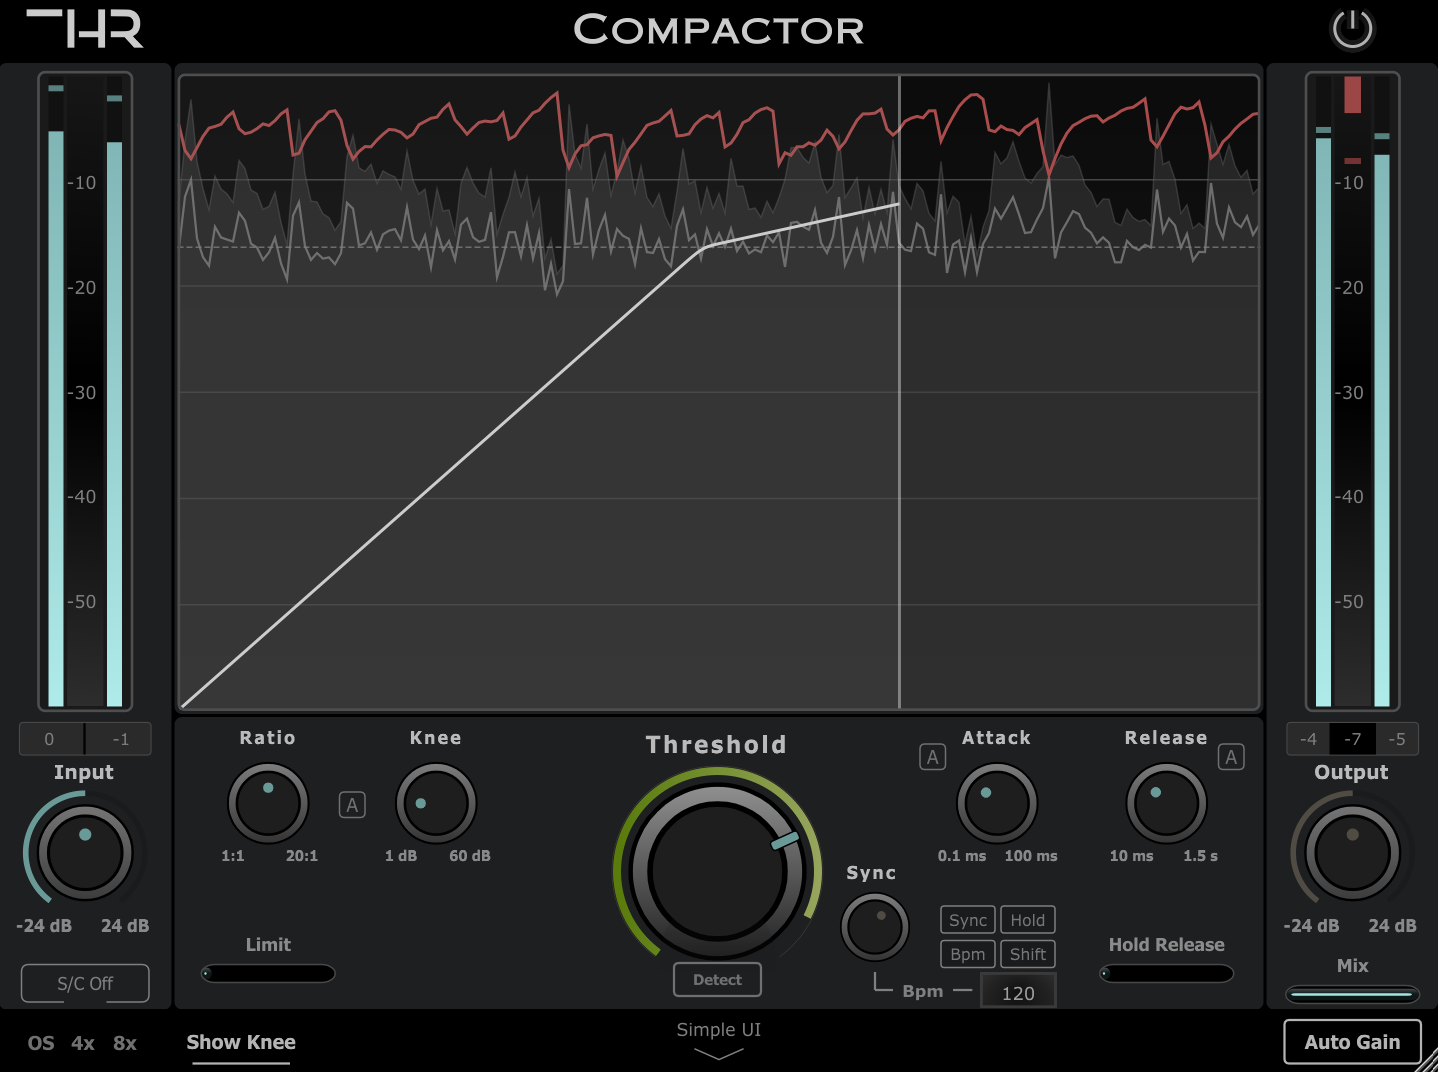
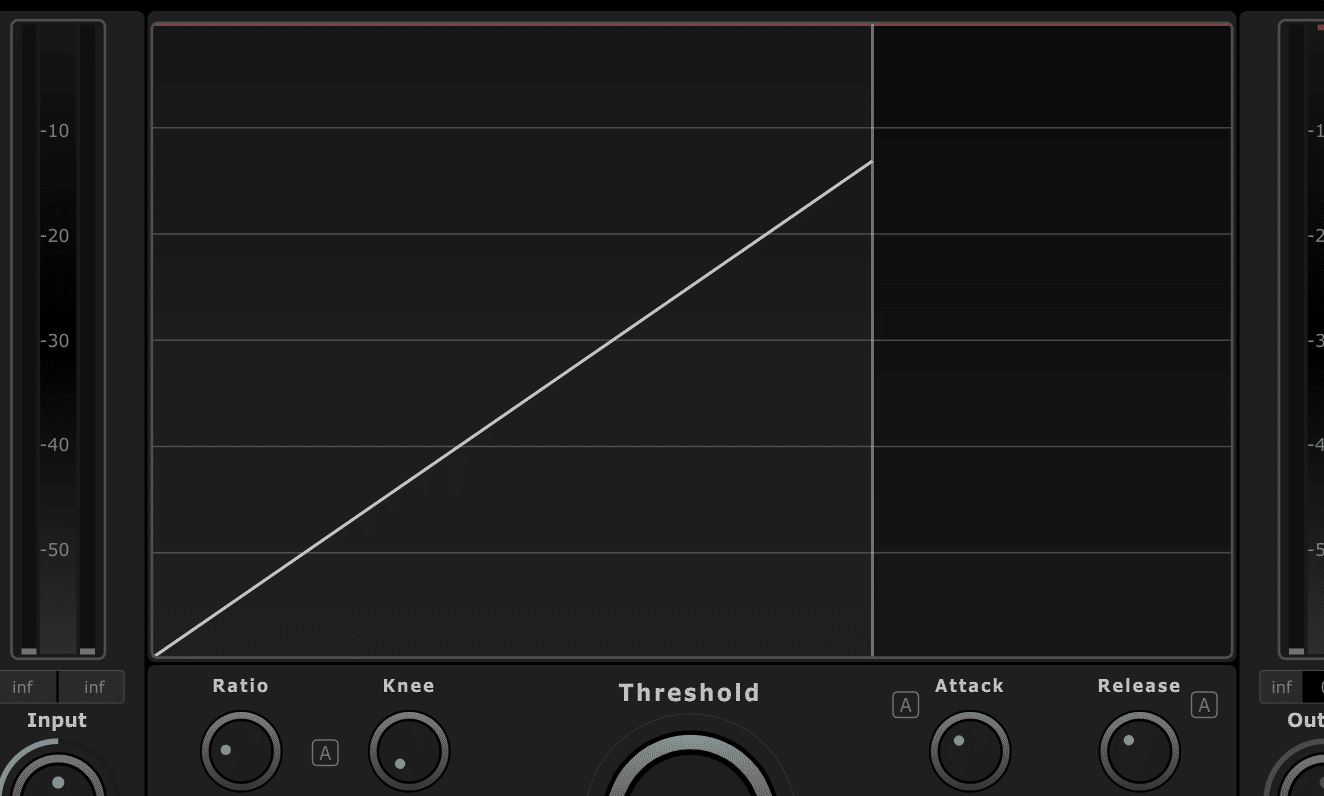
When taking a look at the image of the compressor above, the dotted line represents the threshold.
This would be the level required from the compressor to start clamping down on the signal, which you can set.
If the signal is too low or the threshold is set too high, then the signal will be allowed to pass through the compressor unchanged.
Take a look at the image above: The diagonal line going from the bottom left corner to the dotted line (the threshold), represents the signal before it is compressed, or in other words, the original signal.
Once the signal is over the threshold, it will get compressed depending on the ratio you set: The higher the ratio, the harder the compression.
What does the Ratio do?
The ratio specifies the amount of attenuation that will be applied to the signal.
If the ratio is set to 1:1, then no compression will be applied.
A compression ratio of 2:1 means that for every 2dB that the signal exceeds the threshold it will be attenuated to one over the threshold. This means that if the signal is exceeding the threshold by 10dB and you set the compressor to a 2:1, it will be attenuated to 5dB over it.
The higher the ratio the more the sound will be compressed.
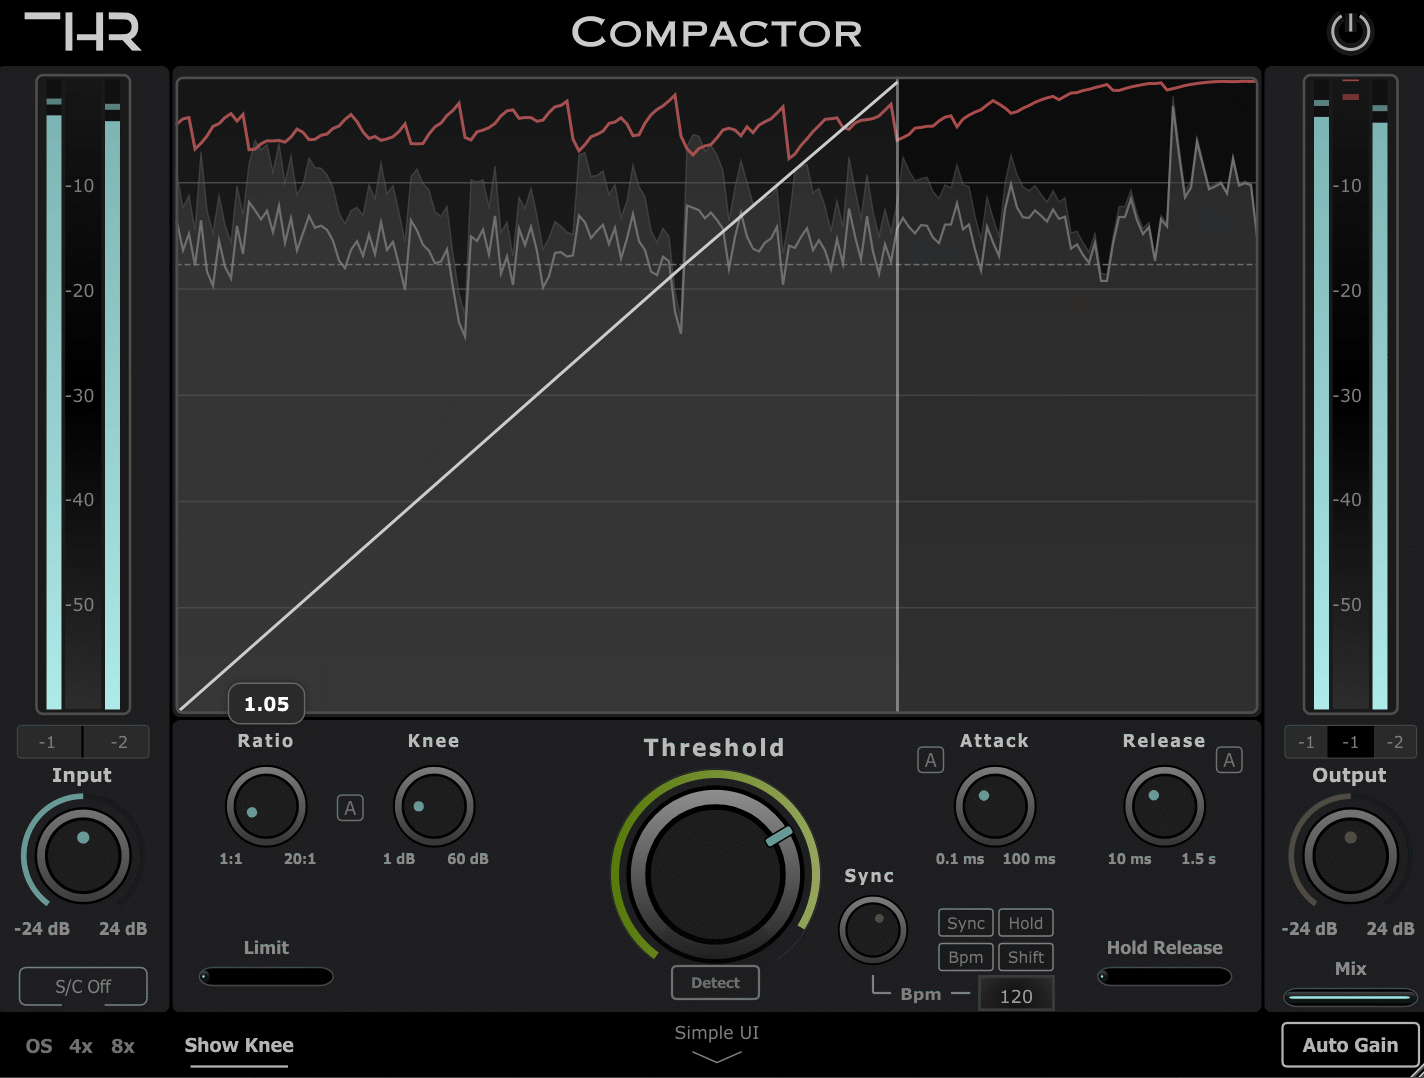
If you take a look at the GIF above, you can see the ratio in action. When set to 1:1, there is no compression happening and the line you see just goes straight up following the same direction as the line below the threshold.
Turning the ratio up “pushes” that line down in the visual representation above, and the steeper the angle, the higher the compression.
It is worth noting that a limiter works just like a compressor but without allowing the signal to exceed the threshold at all.
So, as you can see, both the threshold and the ratio are important when applying compression since the way the sounds is going to be affected can be very different depending on the settings.
If what you want is a more natural-sounding, or in other words, less obvious compression, then a lower ratio is your safest bet.
But what about the knee? What is it and what does it do?
Related: Do you know the difference between Reverb and Delay?
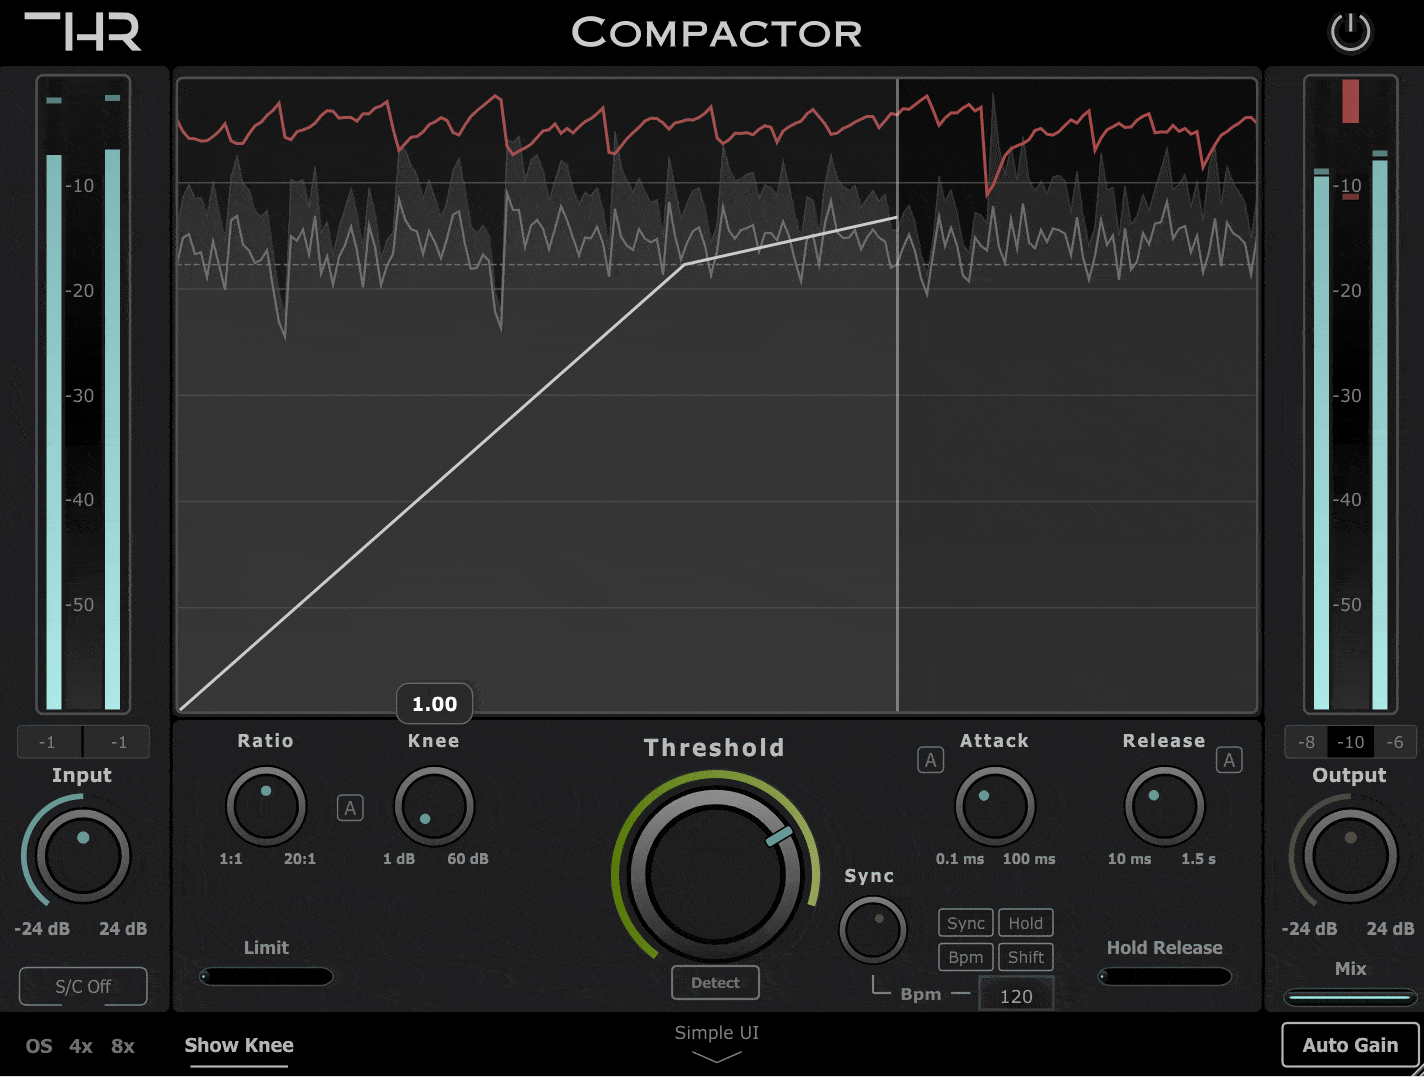
Soft Knee and Hard Knee
As mentioned above, the knee of a compressor controls how hard or soft the transition between zero compression and max compresison is. A “Hard” knee simply means that the compressor goes from not comrpessing at all when the signal is below the threshold, to applying the maximum compression (like 4:1) once the signal exceeds the threshold.
A “soft” knee on the other hand, is when the transition is smooth, even if the ratio is set to 20:1, where the compression starts before the signal surpasses the threshold but at a much lower ratio and then gradually increases. This can be visualized as a curve instead of a steep angle.
Take a look at the GIF below: Here, I’m using my Compactor plugin to transition from a hard knee to a soft knee. See how there is now a compression “curve” instead of a hard angle?
When to use one or the other?
Both have their place when mixing songs, it all depends on what instruments you are mixing and what effect you’re trying to achieve.
I like using soft knees on stuff like vocals, fingerpicked acoustic or classical guitar, piano, etc. Anything where you don’t want to kill the dynamics.
On the other hand, hard knees work great on percussive instruments such as drums, especially on the kick-, snare-drums and toms.
Using a hard knee on acoustic guitar when it’s strummed really hard is also a good idea, since you want to keep a consistent volume throughout whole track.
Of course, these aren’t strict rules, they are just guidelines. It all depends on what you feel the song needs.
Some other features on a compressor are:
Attack
The attack is the time it takes for the signal to become fully compressed after exceeding the threshold level.
The faster you set the attack, the faster the signal gets compressed.
This is usually measured in ms (milliseconds).
In some cases, if the attack time is set too fast, it can create distortion in the lower frequencies by modifying the waveform.
Release
Release is exactly the opposite as the attack, it refers to the time it takes the signal to go from compressed to uncompressed, or to its original state.
Release times are considerably longer than attack times, ranging anywhere from 40ms to 3-5 seconds.
Bonus Tips: Butter Compression and Vocal Compression
Butter compression is a term used to describe a very subtle type of compression where you set the ratio really low, generally 1.2:1 or 1.3:1, and then push the threshold down a lot so that the compressor is consistently applying compression to the signal but very mildly.
This is a great style of compression for acoustic guitars, for example, since they don’t respond too well to more traditional styles of compression, and this method lets you control their dynamics without killing their tone.
Another tip is to use the “Auto Knee” function of your compressor when working on vocals (The THR Compactor has this feature, the Fabfilter Pro C-2 does so as well, and there are some other ones that share similar features).
What this feature does is that the lower the threshold is, the higher it sets the ratio as well as the knee, which results in a very natural-sounding compression on vocals.
Conclusion
Using soft and hard knees depends entirely on the instrument you’re applying the compression to, and also on what the song needs.
Make sure to play around with these settings to get a feel for how they work and when you should use one or the other.
I hope tis was helpful, have a fantastic day!