
Last updated on April 29th, 2022 at 11:34 am
Have you ever wondered how to record “radio quality” music at your own home? I have too, for a long time.
It might seem almost impossible to most people and I’m going to be honest, it’s not an easy task.
High-end music studios are successful for a reason, because they allow you to get the best sound possible, but you need a big budget to be able to record there.
But I’ve heard of many people who have had some pretty unsatisfying experiences in Studios, especially if the budget was tight and they had to rush through the process.
The quality just wasn’t there and with a little hard work, they could have done it on their own and maybe sounded better.
In this post I will go over how you can record “radio quality” music, you just need to know what you are doing, and also avoid certain mistakes.
Everything except drums!
Any experienced home producer will be able to tell you that drums are pretty impossible to get right without a great facility and equipment.
Tracking is the most important part of the process.
If done properly all you need to mix is to set the levels of the tracks, EQ, Panning and possibly a Reverb/Delay Plugin and that’s about it.
But the point is, the monitor mix during a good tracking session should already sound like a record.
If you didn’t record the tracks properly, no matter how good of a job you do EQ’ing, compressing, etc, you won’t get the best results.
Know that urban saying? “You can’t polish a turd”? It’s completely the case here.
This is why, only for drums, I recommend you spend the money on Studio time. No need to record the whole band, just the drum parts.
Another way is to use drum Samples, there are even some free ones available which sound awesome!
You could be using something like EZDrummer. It won’t have the same feel to it, since it’s not a real drummer playing, but it will sound great in the mix nonetheless.
The Bare Minimum Gear
Grabbing the first microphone you see and plugging it into a super cheap Audio Interface should NOT be your first instinct.
IF you want to get great sounding mixes, ready to be played on the radio kind of mixes, you will need some good equipment.
Microphones
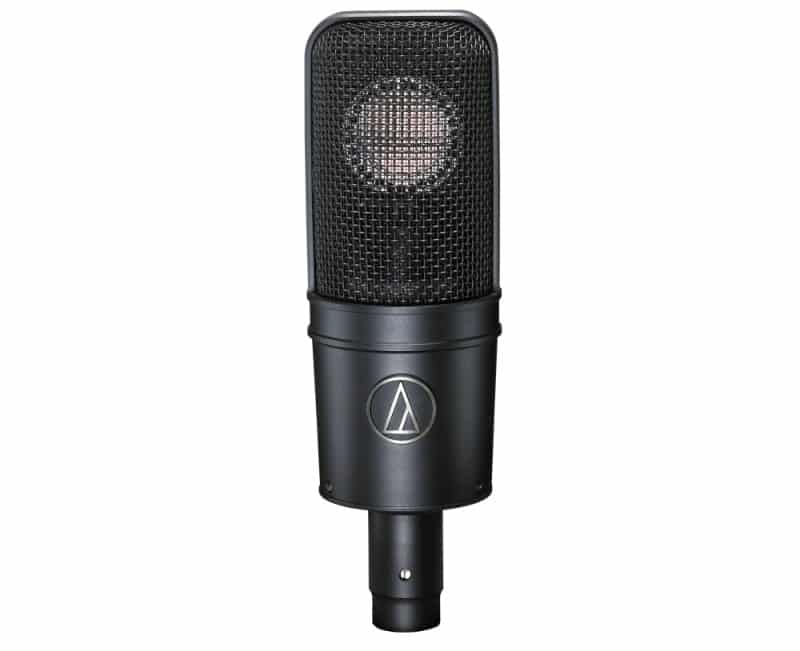
You don’t have to go broke doing so, but one Good condenser Microphone (My recommendation would be the Audiotechnica AT-2020, since it’s really inexpensive yet great at what it’s supposed to do) and at least one Good Dynamic Microphone (I’d recommend the Shure SM57 or the Sennheiser e835) should be the bare minimum.
Of course, if you want even better sound quality, you could check this list of the best microphones under $300.
Audio Interface
You will at least need a good and inexpensive Audio Interface, which can do some Multi-track recording, this isn’t the ideal case but it’s a jumping off point.
Studio Monitors
Unless you have at least decent studio monitors, your ability to mix properly will be hindered.
The cheaper option would be the Mackie CR3.
Headphones
This is a bit of a controversial topic, some people think that recording and mixing only on headphones can’t be done, some others do.
I think that if done properly, with high-quality headphones, it is very possible…
You just need to know how to do it.
Open back headphones are the best ones for mixing in my opinion, I personally use the Sennheiser HD650 but if those are too expensive for you, you could always get the Grado sr80e which cost only a third.
You will find both of them on my Recommended Gear page.
Tracking importance
As I stated earlier, tracking is by far the most important part of the process.
Tracking simply means, recording your music onto tracks in your DAW.
Why is this so important?
Well, tracking is the foundation of your song. Get this wrong and everything falls apart.
Of course, some things can be tweaked with EQ afterwards, but you NEED to focus on getting the best sound of your recording right of the bat.
If you manage to do this, the mixing process will be a lot easier!
Get Organized

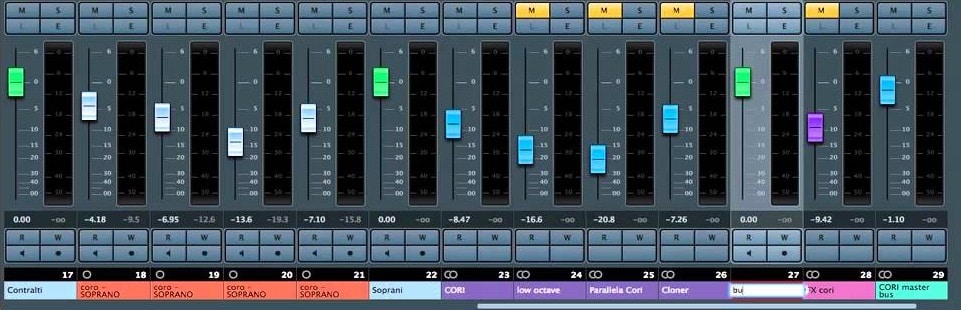
You should ALWAYS sort the tracks before you record. If they are in disorder, you will waste a lot of time searching for one of the electric guitar parts, or vocals, etc.
You should also create subgroups and route the tracks correctly. Create a Guitar bus, Vocal bus, Drum bus, etc. Also, name and color all the tracks.
This way you will have simplified the mix quite a lot, you can control the whole groups volume with just one fader, apply Compression and EQ to all the tracks at once, should you decide to.
Ok! Now that the absolute basics are out of the way, let’s get into the next part which is…. Mixing!
Mixing

The mixing part is where everything that you have recorded comes together. At times it can seem overwhelming, but if you follow these guidelines you will get a great result!
When I first started, I used to jump from track to track, wasting time and not really having a roadmap for the whole process.
If you don’t want to waste time and be as efficient as possible, while still getting a great sounding mix, I’d suggest you follow this guide.
I will break it down in three stages!
Stage one
Monitoring Levels
After organizing your tracks, you need to set the monitoring level. Whether you are mixing on Studio Monitors or Headphones, you need to set a specific and consistent volume level.
This will be your default mixing volume.
The best volume, if you ask me, is one that allows you to hear every instrument, but that is quiet enough that will allow you to have a conversation in the same room with someone while you are playing the tracks.
This volume is probably quieter than what you are used to. But there’s a good reason for that.
First: You don’t hurt your ears!
Listening to high volume sounds for hours on end, can end up causing serious damage to your hearing.
Another great thing is that while working at lower volumes, you avoid hearing fatigue a lot more.
This means that you can work more and more accurately.
Second: Everything sounds a lot better loud, doesn’t it?
The drums sound better, the bass comes through as super huge, etc. The issue is that, once you turn them back down, more often than not, it all falls apart and sounds completely flat.
Your mix sounds extremely weak in comparison, so why is that?
When Mixing at really high volumes you won’t be able to pick up certain subtleties in the recording. For instance, you might think that the bass is coming through the mix just fine, so naturally you assume that it doesn’t need EQ’ing at all, only to find that when you turn it down, it is barely noticeable.
This way you will know better what needs EQ’ing, compression, etc.
Setting the Gain properly
After you set the monitoring levels, you need to do one more thing, which is to set the gain properly inside your DAW.
I Usually I see people set it way too high, which in the end leaves them with little headroom on the master fader. You should always aim for -10dB on the master fader, because you might end up getting Digital Distortion, which sounds absolutely terrible.
You probably heard somewhere that you need to record the tracks as hot as possible without clipping to avoid noise, but this is only applicable to the analog world, where you had to fight the noise level floor.
Today, you record into a DAW, which means that your signal is extremely clear, so please avoid running the signal too hot, leave some space. You can always turn it up later!
Leveling the tracks
Setting the level of your tracks is crucial! You want to establish each track’s individual volume, relative to all the others in the mix.
This means, playing around with only the faders, trying to achieve a good balanced mix.
Why is this important?
If all tracks have been recorded properly, you should be able to get a great sounding mix only by setting the track’s levels. After that, EQ’ing, compressing, adding effects becomes easy, plus you might over- or under-EQ if the track’s level was off!
Stage Two
Equalization
This is the part where you can actually start modifying the sound of your tracks with EQ, and let’s be honest, nothing that you do to the track will have as much of an impact as Equalization.
It can change the whole character of the song (in the right- but also the wrong way at times).
If some instruments are competing for the same frequency range, then EQ can really go a long way on helping you free up space to make them sit together nicely.
If you are a beginner, and have no idea how to use a EQ, start by applying a HPF (High Pass Filter).
Since the low-end of the song will be occupied by the drums and bass, applying a High Pass Filter to the other tracks, will get rid of their low-end, which for a Vocal or Guitar track, does absolutely nothing but mud things up.
Bonus Tip: Force yourself to EQ in mono.
Why is this important? Well, while listening in mono all the tracks are on top of each other, it will force you to work on the track a lot harder until everything can be heard and felt.
Do this for every track until they all cut perfectly through the mix!
After this, you can go back to stereo!
I wrote a whole post on why it’s important to check your mixes in mono, make sure to check it out!
Compression
Compression is right there with EQ, in importance, and is mainly used to bring punch, power, impact and clarity to the mix!
What I like to do is, first EQ away all the stuff that doesn’t belong, then add a compressor to highlight what remains, creating a better sounding track.
It can be used to on drums for instance, to fatten them up and get them to sound punchy, or on vocals to turn up the quieter parts that otherwise might get lost in the mix.
Of course, there are many ways to use compression. You can apply it to each individual track, or you could use parallel compression (this is mainly used for drums), which entails sending a copy of the drums to another bus, compressing the hell out of it and then blending it with the un-compressed one.
What this does is, give you the tightness from traditional compression but still letting some of the dynamics through!
Reverb and Delays
After all the aforementioned steps, you should already have a damn nice sounding mix! The only thing missing might be some room sound, it might sound a bit too dry.
Since working in a home studio isn’t ideal, and we want to avoid picking up unwanted noise, we tend to place the microphones real close. This leaves us with little to no room sound.
Simply adding a bit of reverb or delay may change the feel of the song dramatically.
Note: Be careful to not down your mix in reverb or delay, I assure you, this will sound terrible.
Use Panning to create an awesome Stereo Image
Like I mentioned before, it’s best to EQ in mono, to get everything to sound the best way possible! But once you achieved that, it’s time to create a sense of space in you mix, make it sound wider and bigger.
Pan certain instruments to right or left, you can use automation to make some sounds move around a bit! Here you can play with it until you find something you like.
Note: Keep the Kick- and snare drums, also bass and vocals in the middle.
Stage Three
Make it Interesting
Your mix doesn’t only need to sound perfect, but it also needs to take the listener on a journey. If all the parts sound exactly the same, say, verse one is sonically identical to verse two, they will get bored.
You could maybe add an effect to the second verse, or maybe mute something. Automate panning, creating a wider or narrower feel in one of those verses. You get the idea.
Lastly, but not least…
Referencing
If you’re mixing a pop-song, you should always compare it to other similarly sounding pop-songs.
Why is this important?
Well, it may seem to you that your mix is sounding absolutely fantastic, and it probably is…
But it’s healthy to compare it to the standards, especially since we are talking about how to record radio quality music.
Just import the song to your DAW, adjust the volume so it matches your mix and have a listen. This will allow you to get a feel if something need a bit of tuning.
Another way to reference is simply by listening to your mix on another set of speakers / headphones.
This works because, even though Studio Monitors and Monitoring Headphones are supposed to be “flat”, they still carry their own EQ curve.
This will allow you to take note of anything that might be missing, go back to the mix and change it!
Conclusion
In my opinion, this is the best way to approach mixing, these steps have proven to work time and time again.
Of course, there might be some stuff you would do differently, but it’s always good to have a plan that you can follow, so you don’t get needlessly lost.
Try them, make your own adjustments if needed and enjoy!
I hope you found this guide useful! See you on the next one!
Just from reading your blog, made me feel like I’m a pro in mixing & mastering already… I’ve acquired a lot from this blog.
You have a good teaching technic….
Congrats and thanks a lot for that.
Thank you!
Thank You!!