
Last updated on February 27th, 2020 at 08:48 pm
Getting vocals to sound how you want them to and to properly sit in the mix, can be quite more challenging than it seems…
Especially for any beginner who is just starting to learn to mix.
In this article I will do my best to teach you how to effectively EQ the vocals in your mixes.
But first there’s one important factor that will affect the sound of your vocals quite a bit…
Use the right Microphone
One of the best ways to get a good sounding song, whether it’s in a studio or live setting, is by using the right kind of gear.
No single mic is the best at everything…
This means that in order to get a quality vocal recording you should at first try a couple of them out to see how it fits the singer.
Why is this important?
Some microphones have boosts on certain frequency ranges while others don’t, or even have cuts.
What this means is that the same singer is going to sound drastically different on every microphone he/she uses.
First find the best mic that really compliments the singer and then worry about EQ’ing.
Also, let’s face it…
No one wants to work more than they need to and choosing the right mic will save you loads of time instead of having to fix things later in post.
That being out of the way, let’s move on to the first EQ tip…
Cut before you boost
First of all, let me say that EQ’ing the vocals is all about making them sound right, so if boosting a certain frequency range will make them sound fantastic, you should do it, no questions asked.
However, I like to follow a basic concept when EQ’ing my tracks which is; Cut and remove whatever isn’t needed, and THEN boost the flattering frequencies.
It’s also considered good practice to cut before- and boost- after compression.
Cutting is generally used to affect the track in a more drastic way than boosting, for example; Affecting the tone, correcting or removing unwanted frequencies, etc.
While boosting, on the other hand, is useful when you want to add a gentle– and wide-bandwidth tonal shaping, like bringing out the air and presence in the vocals.
Cutting is also generally better because it won’t eat up your headroom, while boosting will quickly leave you with none at all.
Lastly, and this only applies to live shows, boosting instead of cutting tends to increase the risk of feedback.
Which brings me to my next point…
Use a High-Pass Filter
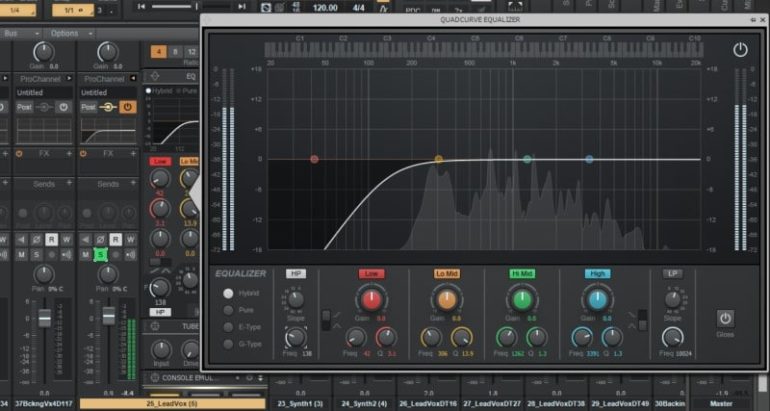
A high-pass filter on the vocals is something that you might need to use, or not… depending on a couple factors.
However, it’s generally good practice to get rid of frequencies that don’t add anything to the vocals, especially the low end.
This is because the low end across all tracks will start to add up and either muddy the mix, making the actual instruments that live in those lower frequencies, such as the bass guitar, harder to hear, or it can generate that low-end rumble which just sounds awful.
Another thing a high-pass filter accomplishes is that it can reduce, or sometimes even completely remove, unwanted plosives.
The reasons to use one or not mainly will depend on how the vocals where recorded.
I say this because there’s a big difference between recording them in the same room with the entire band- or live show -, or in a vocal booth, isolated from any noise whatsoever.
If you recorded the vocals with the band present then there will be a lot of other instruments that will be picked up by the vocal mic, which makes the need for a High-Pass filter a lot more important.
So, let’s see how you should apply the HPF in both those situations;
Note: I usually start with quite a gentle slope on the High-Pass filter at about 6dB-12dB and check how it sounds.
If I feel like I need to do a harder cut I may increase it to 18dB or even more.
Gentler cuts tend to sound a lot more musical, so keep this in mind.
At Live Shows or in the Studio with the Band present
In this case I think that it’s a necessity to use a High-Pass filter to remove as much of the low end as possible.
In general, cutting anything below the 150Hz mark will work just fine, however you should let your ears be the judge because depending on how high or low the singers voice is, the settings on the EQ should be different.
The best way to use a HPF and not affect the vocals, is by increasing the frequency point until you can actually hear it affecting and thinning out the vocals and then just roll it off a bit.
This will effectively manage the low end without thinning out the tone of the vocals.
In a Studio Setting Without any Noise
In a studio setting it’s much simpler mainly because there are no other sounds for you to worry about.
You could use a HPF just in case, but in most situations it’s not even needed.
The best reason I can think of to use a HPF on a vocal track that only has the vocals on it without any interference whatsoever, is to get rid of air plosives.
Plosives are generated when the vocalist pronounces the letters “P”, “T”, “B” and some others.
The issue with these plosives is that they are extremely noticeable and should be taken care of.
Just follow the same steps I explained just a second ago;
Increase the frequency on the HPF until it starts affecting the tone of the vocals and just back down a bit.
Hopefully, if you’ve done this right, the plosives should be barely noticeable.
There may be other reasons to use a high-pass filter even if the recording was done in complete silence, like if there’s an Air conditioner running in the background, for example.
Like I mentioned at the beginning of this article, cutting should always be done before applying any compression to the track, so keep that in mind.
Filter Out Unwanted Frequencies
This is something that I’ve already covered in a couple of my other articles, like in the one where I talk about how to mix drums.
Even though drums and vocals differ a lot from each other, the method used to remove annoying frequencies is exactly the same.
Why would you want to remove some frequencies in the first place?
Well in some cases, most actually, there will be some unflattering frequencies affecting your vocals creating boomyness, harshness, muddiness, etc.
This method I’m about to teach you will help you deal with this issue in a really simple way;
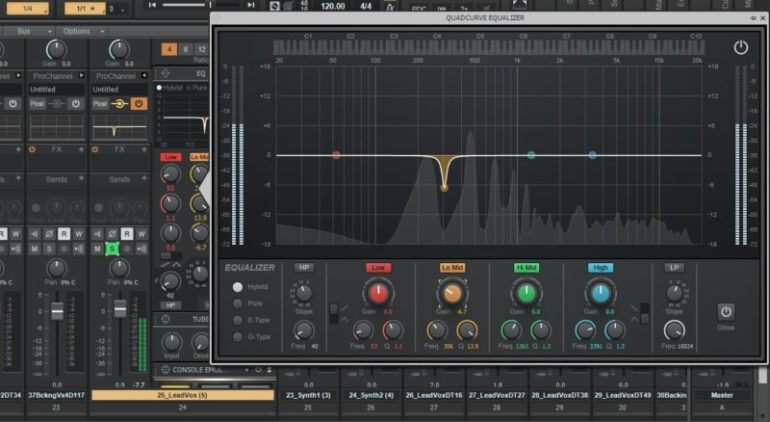
Step 1: Use a parametric EQ with a semi-narrow “Q”.
If the Q’s set to about 8 you should be good to go. You could go narrower if you’d like.
Step 2: The Gain on the EQ should be between 12dB and 18dB.
Step 3: Start sweeping from left to right very slowly.
If you encounter any offending frequencies, you should be now able to hear them clearly since you’re boosting them so much.
Once you found the frequencies that then to be brought down it’s time for the next step…
Step 4: Adjust the Q to see how wide or how narrow the annoying frequency range is.
The whole point of doing this is so that you can remove some unwanted harshness, muddiness, etc. without affecting the tone of the vocals.
This means that if you use a Q that’s too wide, you will probably compromise the vocal’s tone… so try and be as precise as possible.
Step 5: Once you’re done with the previous steps, there’s just one thing left to do… pull the gain down until you can no longer hear the problem.
Just a slight dB reduction should do the trick.
And that’s it!
You may need to do this on more than one section of the whole spectrum, so just have patience and find the spots that don’t sound right to you and fix them with this method.
Note: Just like applying a High-Pass filter, every kind of cut should always be done before the compressor.
Moving on…
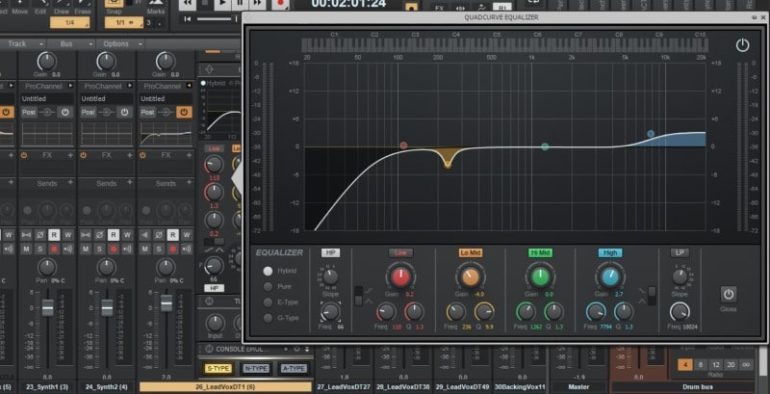
Remove the Mud
One thing I’ve found is that a typical range of frequencies responsible for not allowing your vocals to sit properly in the mix, is the one between 150Hz and 300Hz.
This is especially true if you have a lot of other instruments competing for the same range within the mix, like guitars.
Giving the vocals a slight cut between those frequencies can often times get rid of some of the mud.
Important note: If your vocals are already sounding thin, don’t do this… otherwise they’ll sound even thinner.
Focus on cutting the other instruments instead, to allow the vocals to come forward.
Accentuate the good sounding areas
I’ve already been talking quite a lot about cutting and fixing up the track, and now we get to the part where we try to emphasize certain aspects of it, like giving it a presence boost, boosting the airy frequencies, etc.
Like everything you do when mixing, if it sounds good then that’s the way to go, which means that what I’m going to tell you now shouldn’t be taken as strict rules but rather as general guidelines.
It’s very common to add a slight boost to the upper frequencies using a high-shelf EQ.
Like I mentioned before, boosting is usually done in a subtle way while affecting a wide range of frequencies.
The frequencies that you want to be aiming for here are from about 8k and up. But if you only want to give it some subtle top end “sheen”, then try boosting at around 12k and up.
What this will do is give the vocals a clearer and “airier” sound which will allow them to better sit in the mix.
This step works great if the vocals aren’t precisely cutting through the mix.
Be careful not to boost too low on the frequency spectrum since it can bring out the harshness and edginess.
Although sometimes it’s fine to do this because it might be the only way to get the vocals to cut through the mix, but in most cases, you’re going to want to avoid it.
If you boost the high end and you feel that harshness come forward, then simply roll the frequency knob up a bit to only focus on the higher ones.
Note: If the vocals you’re mixing come with a lot of bleed of other instruments, especially the cymbals, be careful when using the shelf-eq to boost the high.
This will increase the overall volume of the cymbals which isn’t ideal, plus it can generate phase issues.
However, if you’re still having issues getting the vocals to cut through the mix, then you can try boosting the presence range which is usually between 2kHz-5kHz.
Again, if you boost too much, your vocals will sound extremely harsh… so be gentle.
I’ve found this last step to be extremely useful when dealing with vocals that just aren’t cutting through the mix.
This final tip I just gave you works better on rock vocals where you want them to sound edgier… this means that in some other genres it might not really work.
Just play around with it and see what you like best.
Can you Mix Lead Vocals the same way as Backing Vocals?
Absolutely…
However, there are some tips I can give you in order to make backing vocals feel more like backing vocals and not compete with the lead.
First of all, don’t boost the backing vocal’s high end if you want them to stay in the background.
Also, if you have several backing vocals it can be a good idea to give them all a drastic cut between the 150Hz-250Hz range.
What this will do is allow them to better sit in the mix and not compete with the lead vocal.
And lastly…
Be Subtle
When EQ’ing, especially when boosting, I’d advise you to not boost or cut more than about 5dB-6dB.
When you’re cutting, you could go a bit further since our ears tend not to notice cuts as much as boosts…
But when boosting make sure to be as subtle as possible, otherwise it will be very noticeable.
Summary on how to EQ Vocals
- Use the right microphone
- Cut before you boost
- Use a High-Pass filter
- Filter out Unwanted Frequencies
- Remove the Mud
- Accentuate Flattering Frequencies
- Be Subtle
Conclusion
EQ is just a tiny part of the whole mixing process, but it’s one of the most important ones.
The three main takeaways from this should be;
To cut before you boost: Again, there are times where it’s better to boost… but as a rule of thumb, it’s better to cut.
Using EQ to remove unwanted frequencies like I showed you…
And finally, boost to enhance and accentuate flattering frequencies.
I hope this information was useful!
Have a wonderful day!
This is great, thanks so much. Also loved the drum article.